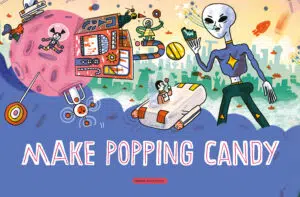
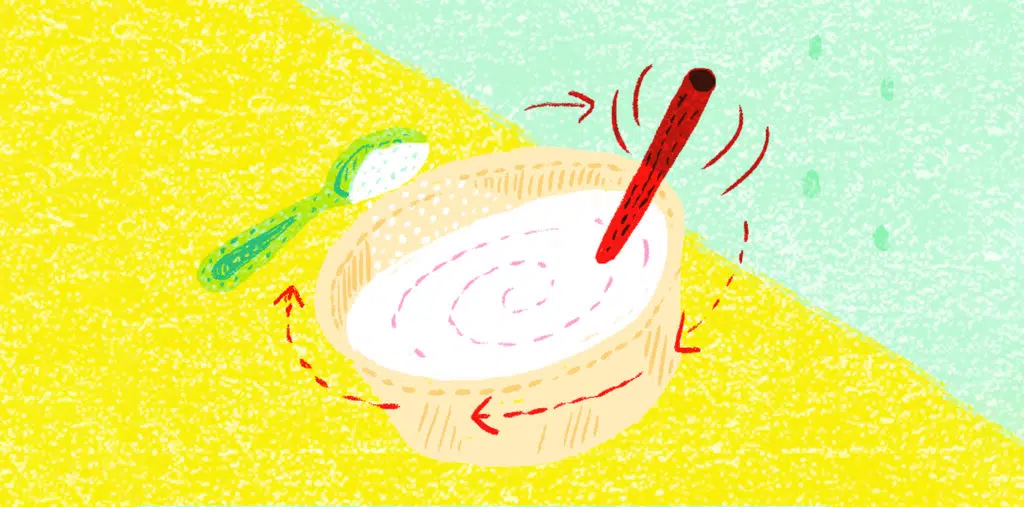
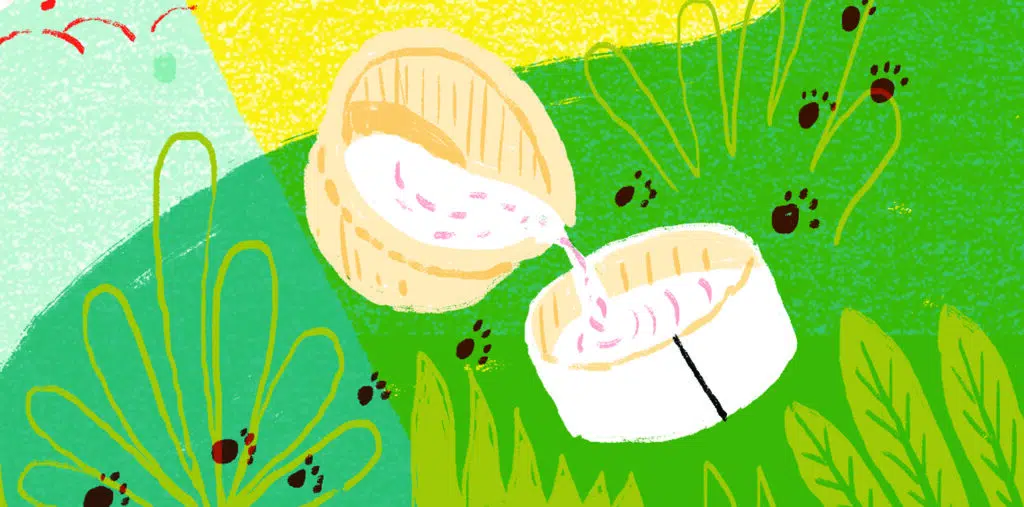
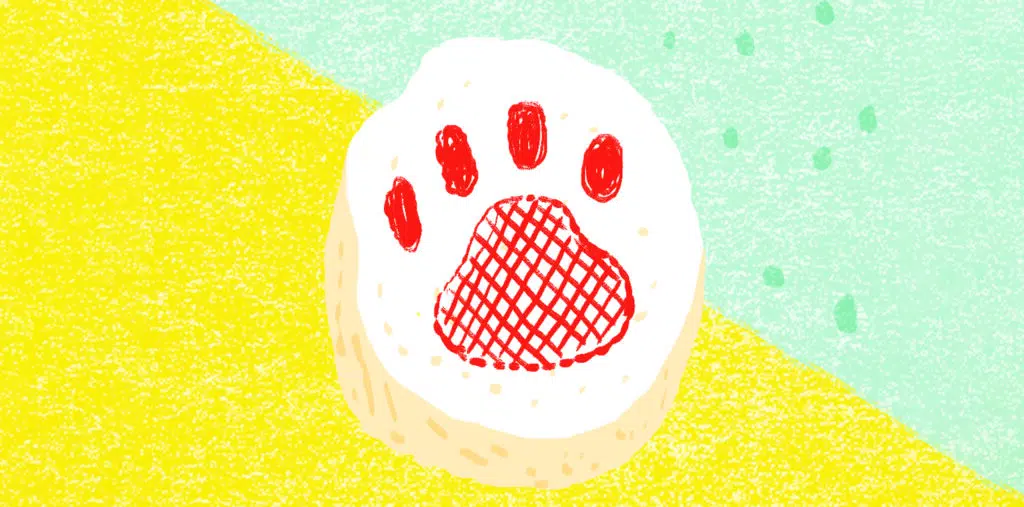
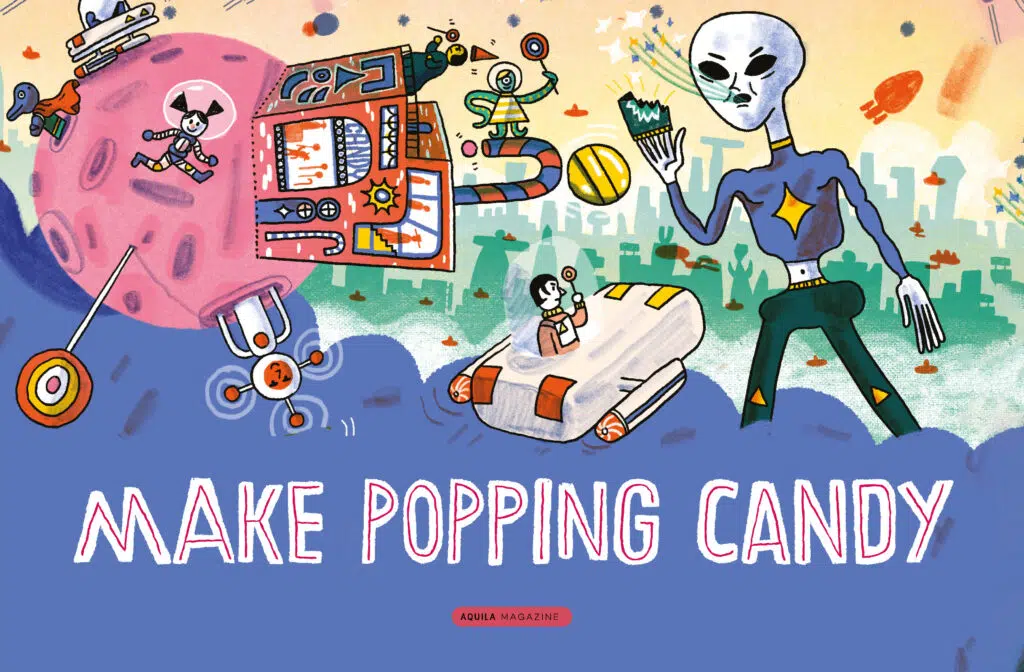
Make popping candy
Make your edible space dust We’re going to make our own version of space dust! Whaaaaat?! Surely you need a
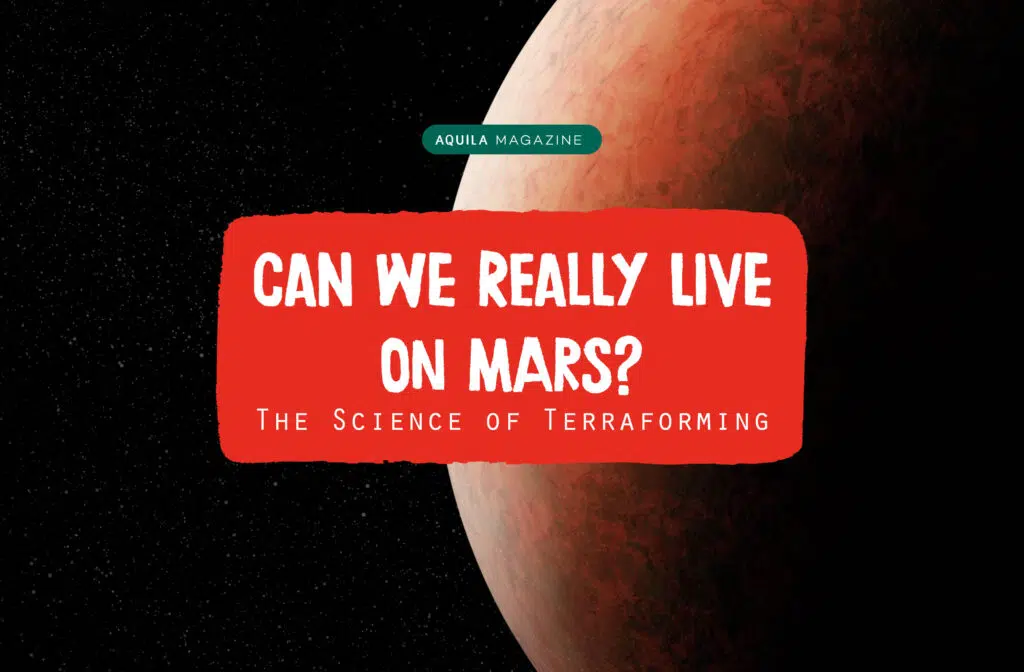
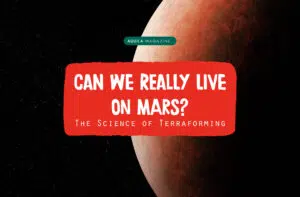
Can We Really Live on Mars? The Science of Terraforming
Can We Really Live on Mars? The Science of Terraforming What are we going to do when we have finished
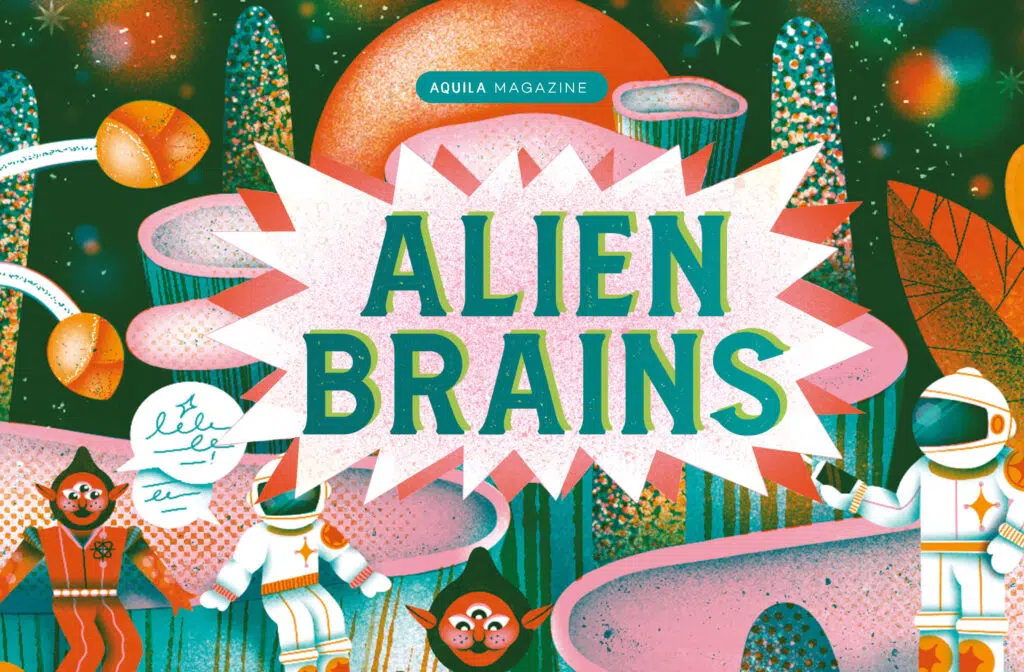
Alien Brains
Alien Brains When you imagine an alien, what do you see? Do you see a little green person with big
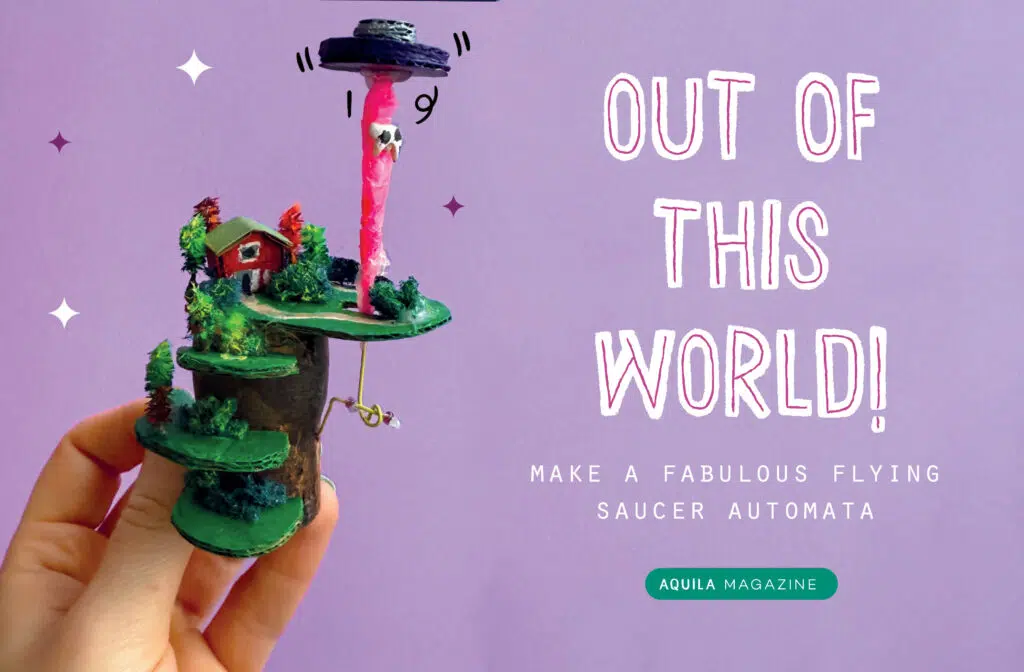
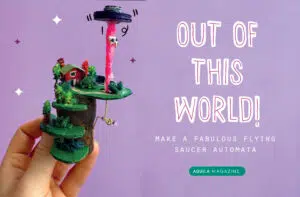
Flying Saucer Automata
Flying Saucer Automata https://www.youtube.com/shorts/wX7H9WPjQao Words: The AQUILA team. Search Popular Keywords Categories No Record Found View All Results

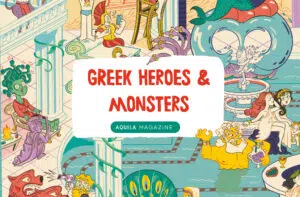
Greek Myths Explained: Heroes, Monsters, and Gods of Ancient Greece
Greek Myths Explained: Heroes, Monsters and Gods of Ancient Greece Heroes Many Greek myths featured a hero – that is,
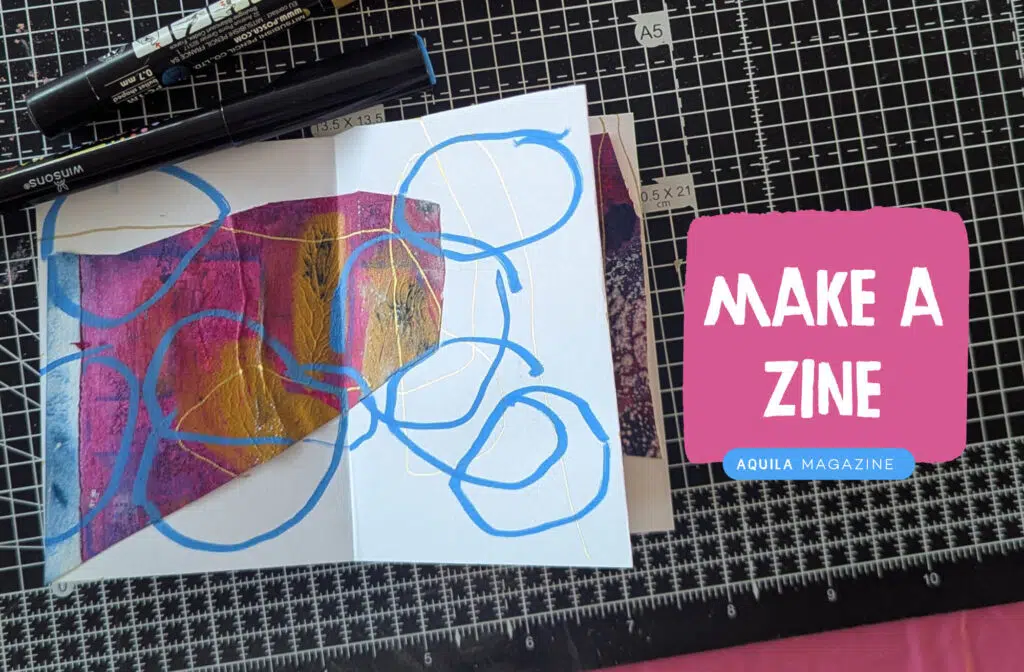
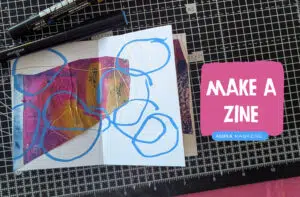
Make your own zine
Make an excellent eight-page zine A zine is a self-published print work, comic or book, produced in very small numbers.