Make popping candy
Make your edible space dust We’re going to make our own version of space dust!
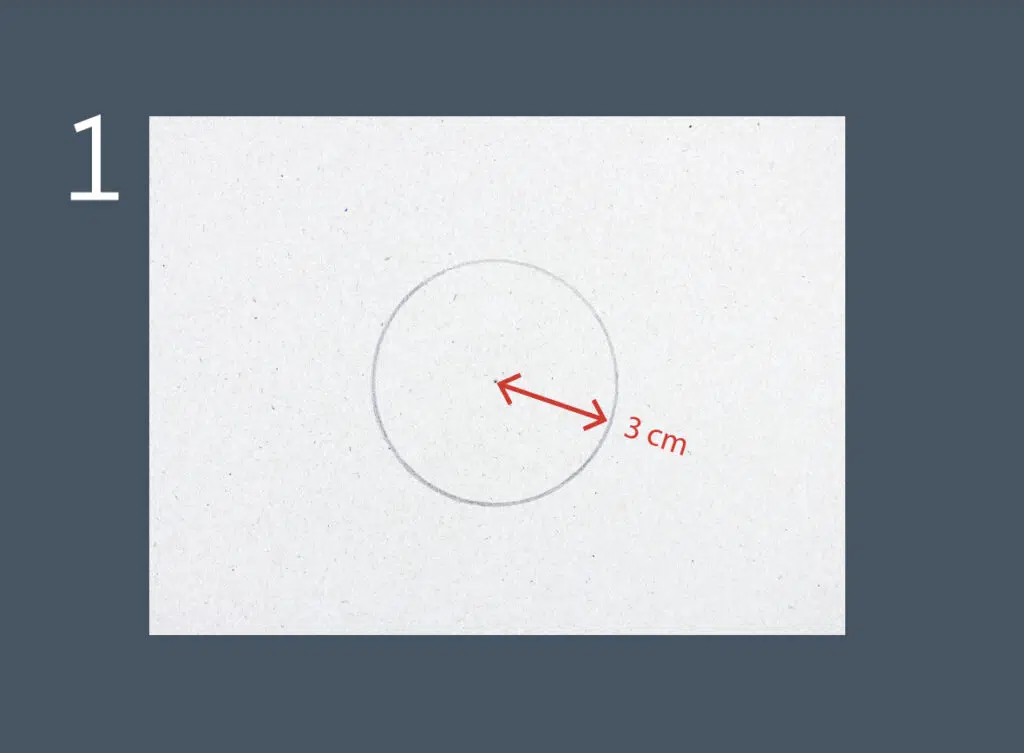
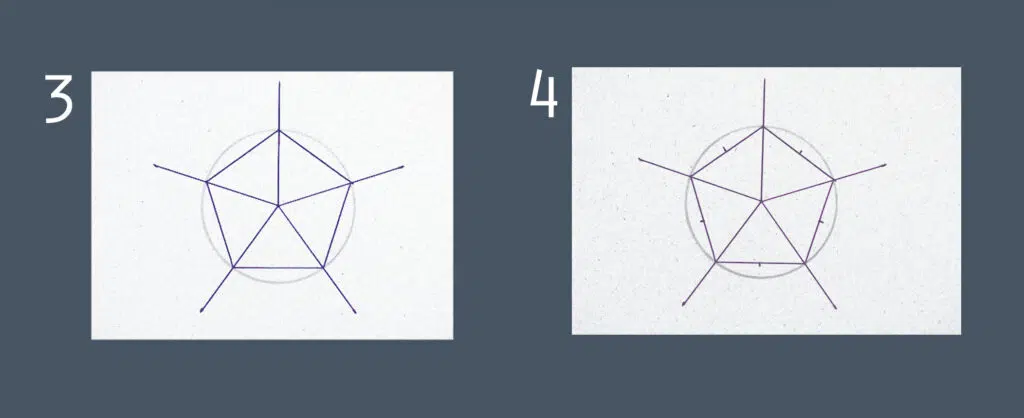
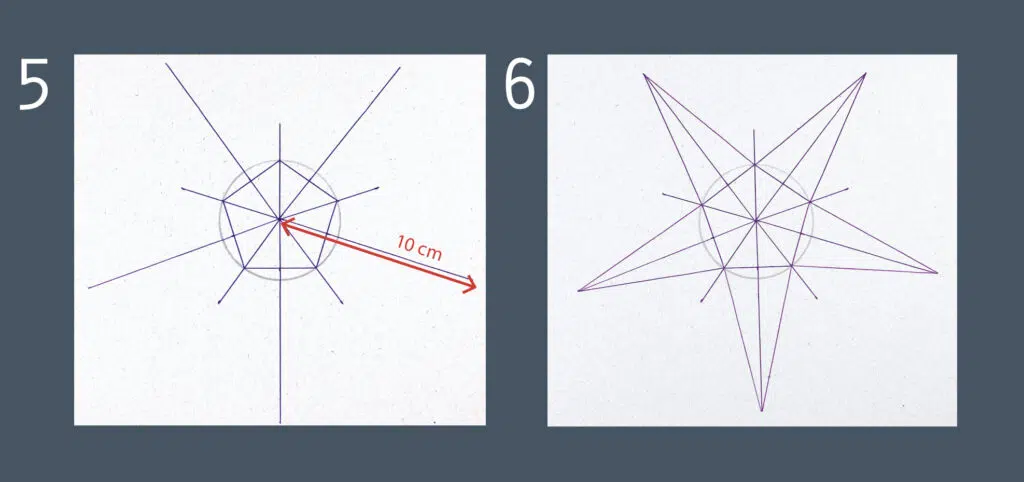
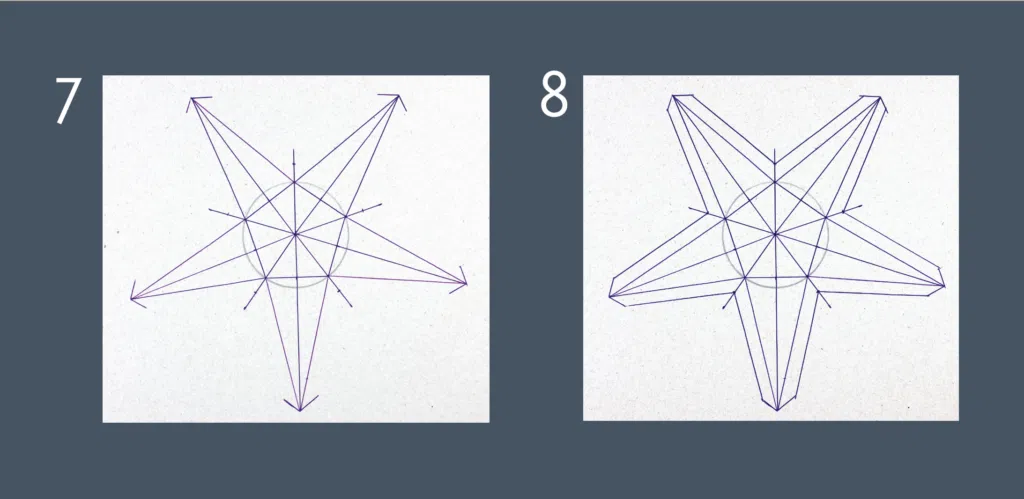
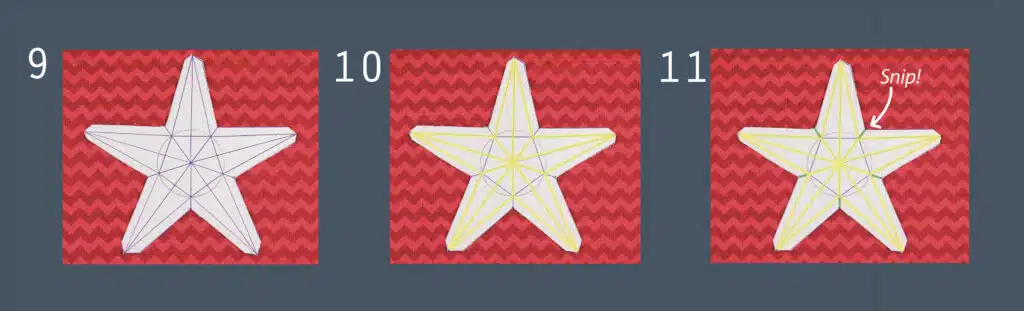
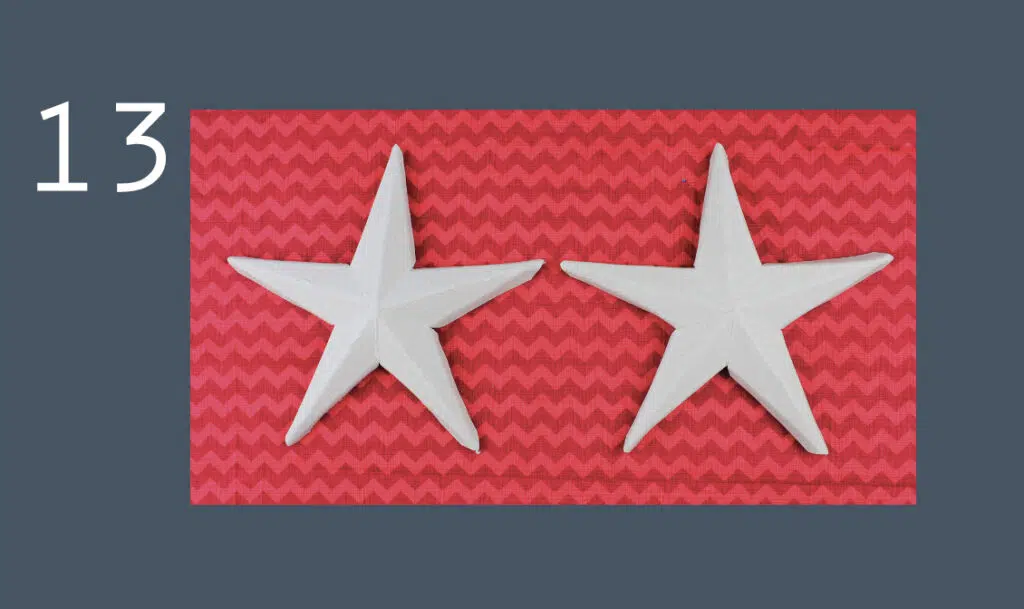
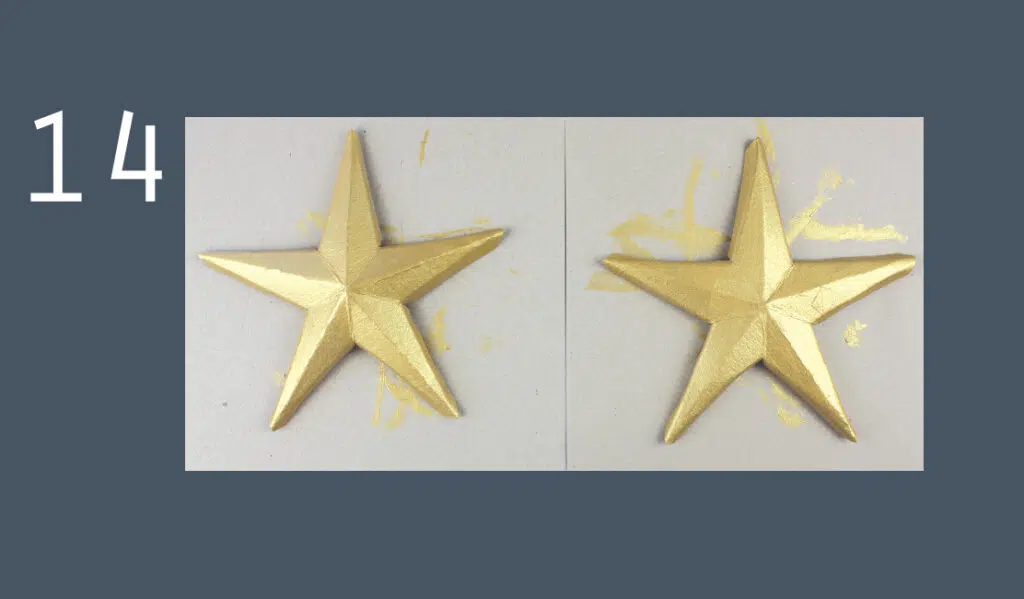
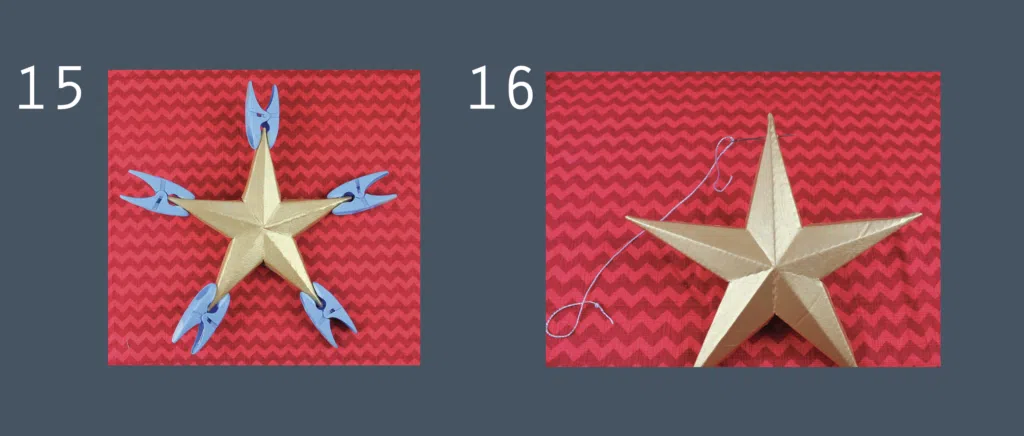
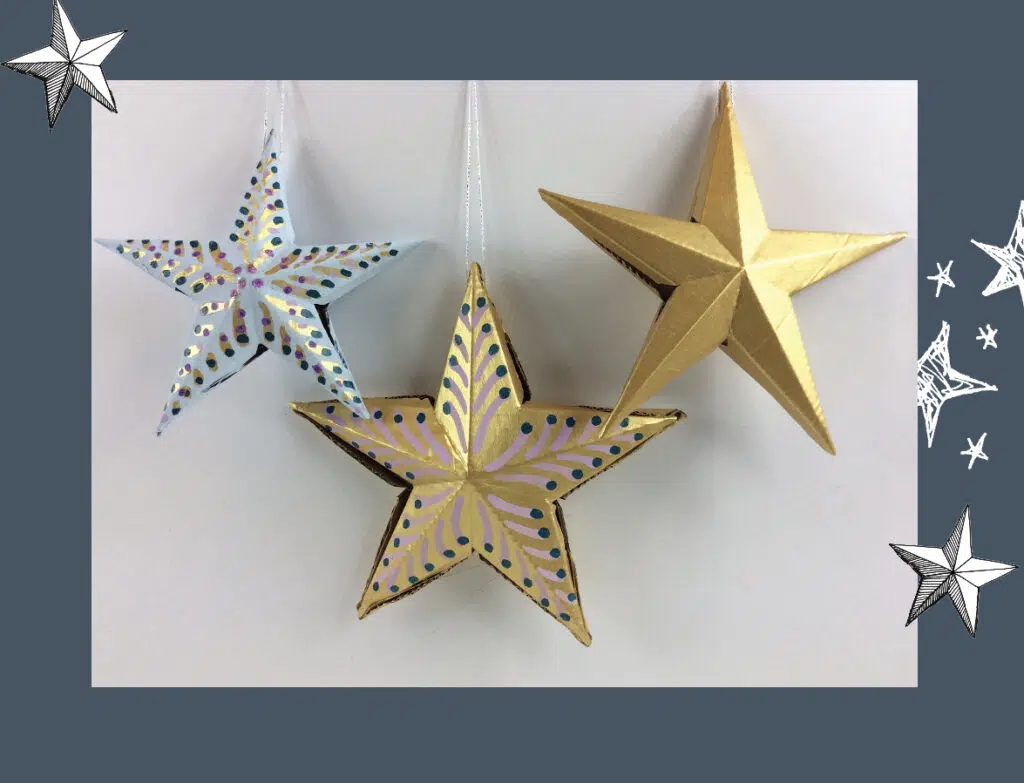
 You might think Calculata and I don’t see eye-to-eye on a lot of things, but you’d be dead wrong! Actually we collaborate all the time, sharing inspiration and ideas and making things together. One of our favourite ways to combine our skills is by making these beautiful paper star ornaments. Why not have a go yourself and don’t forget to notice how much maths there is in this ‘art’ project!

Make your edible space dust We’re going to make our own version of space dust!
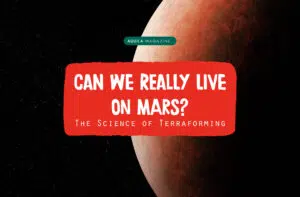
Can We Really Live on Mars? The Science of Terraforming What are we going to
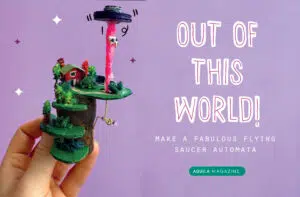
Flying Saucer Automata https://www.youtube.com/shorts/wX7H9WPjQao Words: The AQUILA team. Search Popular Keywords Categories No Record Found
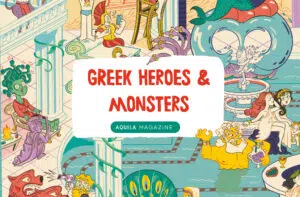
Greek Myths Explained: Heroes, Monsters and Gods of Ancient Greece Heroes Many Greek myths featured
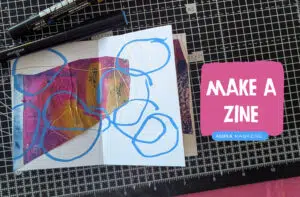
Make an excellent eight-page zine A zine is a self-published print work, comic or book,
